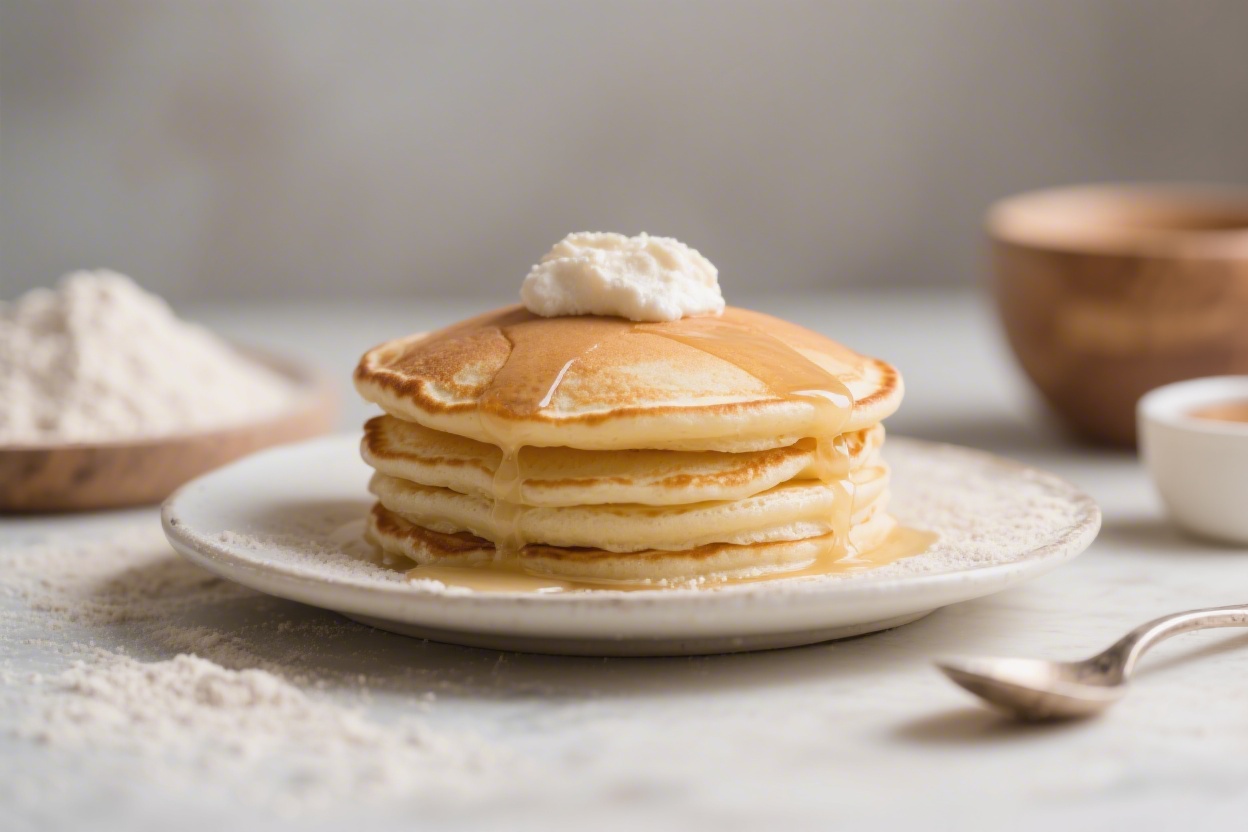
Fluffy Pancakes with All-Purpose Gluten Free Flour – Light, Tender, and Easy
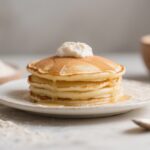
Warm, fluffy pancakes shouldn’t be off the table just because you’re gluten-free. These pancakes rise beautifully, cook up tender, and taste like the classic stack you remember. With the right flour blend and a few simple tricks, you’ll get crisp edges, a soft center, and a golden finish.
This recipe is quick enough for weekdays and special enough for slow weekend mornings. Top them however you like—maple syrup, fresh berries, or a pat of butter melting down the sides.
Fluffy Pancakes with All-Purpose Gluten Free Flour - Light, Tender, and Easy
Ingredients
- 1 1/2 cups all-purpose gluten-free flour (use a blend with xanthan gum; if yours doesn’t include it, add 1/2 teaspoon xanthan gum)
- 3 tablespoons granulated sugar (adjust to taste)
- 1 tablespoon baking powder
- ½ teaspoon baking soda
- ½ teaspoon fine sea salt
- 1 1/4 to 1 1/2 cups milk (dairy or unsweetened non-dairy like almond, oat, or soy)
- 2 large eggs, room temperature
- 3 tablespoons unsalted butter, melted and slightly cooled (or neutral oil for dairy-free)
- 1 1/2 teaspoons vanilla extract
- 1 tablespoon lemon juice or apple cider vinegar (to activate rise and soften the crumb)
- Butter or oil for the pan
- Optional add-ins: 1/2 cup blueberries or chocolate chips; cinnamon; lemon zest
Instructions
- Preheat the pan: Set a nonstick skillet or griddle over medium heat so it’s hot when your batter is ready. Aim for a surface temperature around 350°F if you have a griddle.
- Mix the dry ingredients: In a large bowl, whisk together the gluten-free flour, sugar, baking powder, baking soda, and salt until well combined. This helps prevent clumping.
- Combine the wet ingredients: In a separate bowl or large measuring cup, whisk the milk, eggs, melted butter, vanilla, and lemon juice. Let this sit for 1 minute to lightly curdle the milk if using dairy or soy. It mimics buttermilk.
- Make the batter: Pour the wet ingredients into the dry. Whisk just until smooth and no dry streaks remain. If the batter feels too thick, add a splash more milk. You want a thick but pourable batter that slowly ribbons off a spoon.
- Rest the batter: Let it sit for 5 minutes. This quick rest hydrates the flour and improves fluffiness without making the pancakes gummy.
- Grease the pan: Lightly brush the hot skillet with butter or oil. Too much fat can make the edges fry and darken too fast.
- Portion and cook: Scoop 1/4 cup of batter per pancake onto the skillet. Cook until bubbles form and the edges look set, about 2 to 3 minutes.
- Flip gently: Slide a spatula under the pancake, lift smoothly, and flip. Cook 1 to 2 more minutes until the center springs back when tapped and the underside is golden.
- Keep them warm: Transfer cooked pancakes to a 200°F oven while you finish the batch. This keeps them fluffy without drying out.
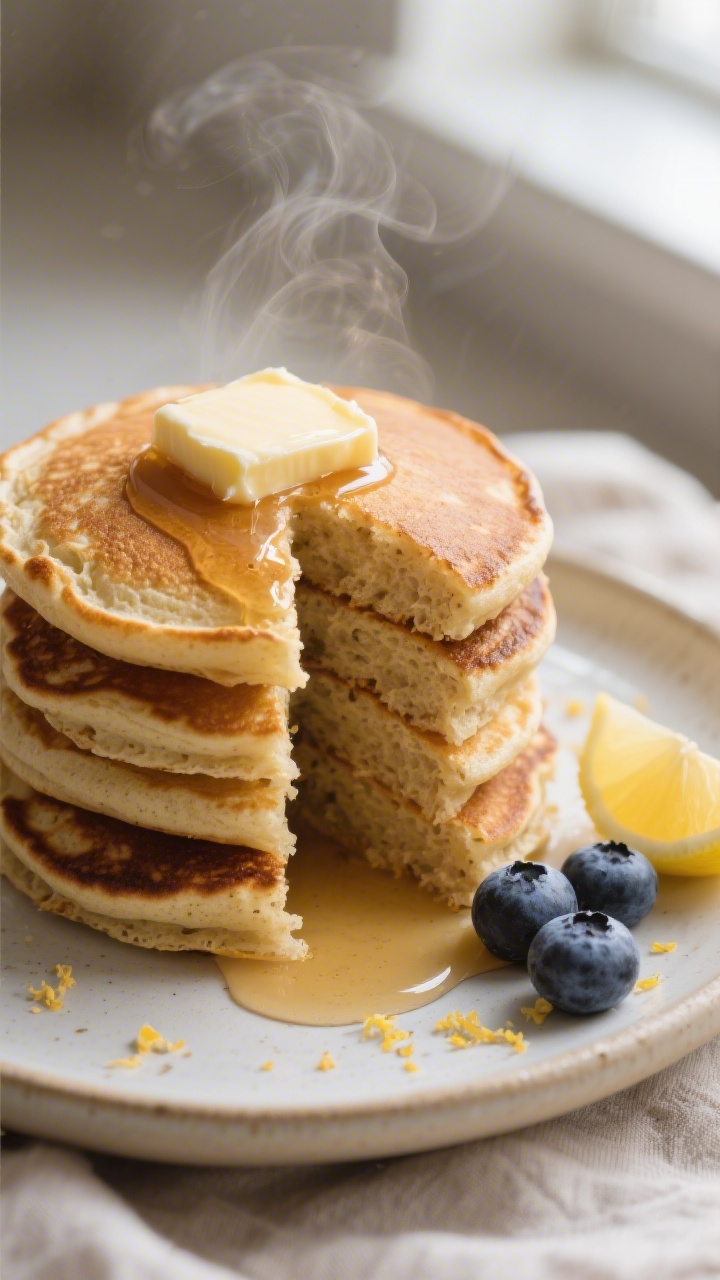
- Serve: Top with butter, warm maple syrup, fresh fruit, or yogurt. Enjoy immediately for the best texture.
What Makes This Recipe So Good
- Light and fluffy texture: The combination of gluten-free flour, baking powder, and a touch of acid creates the lift you want in a diner-style pancake.
- No grittiness: Using a high-quality all-purpose gluten-free flour blend with xanthan gum ensures a smooth, tender bite.
- Simple pantry ingredients: Nothing fancy—just flour, milk, eggs, and a few baking basics.
- Reliable results: Clear steps and cues help prevent gummy or flat pancakes.
- Flexible and customizable: Easily swap dairy-free milk, add chocolate chips, or stir in blueberries without changing the core method.
What You’ll Need
- 1 1/2 cups all-purpose gluten-free flour (use a blend with xanthan gum; if yours doesn’t include it, add 1/2 teaspoon xanthan gum)
- 3 tablespoons granulated sugar (adjust to taste)
- 1 tablespoon baking powder
- 1/2 teaspoon baking soda
- 1/2 teaspoon fine sea salt
- 1 1/4 to 1 1/2 cups milk (dairy or unsweetened non-dairy like almond, oat, or soy)
- 2 large eggs, room temperature
- 3 tablespoons unsalted butter, melted and slightly cooled (or neutral oil for dairy-free)
- 1 1/2 teaspoons vanilla extract
- 1 tablespoon lemon juice or apple cider vinegar (to activate rise and soften the crumb)
- Butter or oil for the pan
- Optional add-ins: 1/2 cup blueberries or chocolate chips; cinnamon; lemon zest
Step-by-Step Instructions
- Preheat the pan: Set a nonstick skillet or griddle over medium heat so it’s hot when your batter is ready. Aim for a surface temperature around 350°F if you have a griddle.
- Mix the dry ingredients: In a large bowl, whisk together the gluten-free flour, sugar, baking powder, baking soda, and salt until well combined.
This helps prevent clumping.
- Combine the wet ingredients: In a separate bowl or large measuring cup, whisk the milk, eggs, melted butter, vanilla, and lemon juice. Let this sit for 1 minute to lightly curdle the milk if using dairy or soy. It mimics buttermilk.
- Make the batter: Pour the wet ingredients into the dry.
Whisk just until smooth and no dry streaks remain. If the batter feels too thick, add a splash more milk. You want a thick but pourable batter that slowly ribbons off a spoon.
- Rest the batter: Let it sit for 5 minutes.
This quick rest hydrates the flour and improves fluffiness without making the pancakes gummy.
- Grease the pan: Lightly brush the hot skillet with butter or oil. Too much fat can make the edges fry and darken too fast.
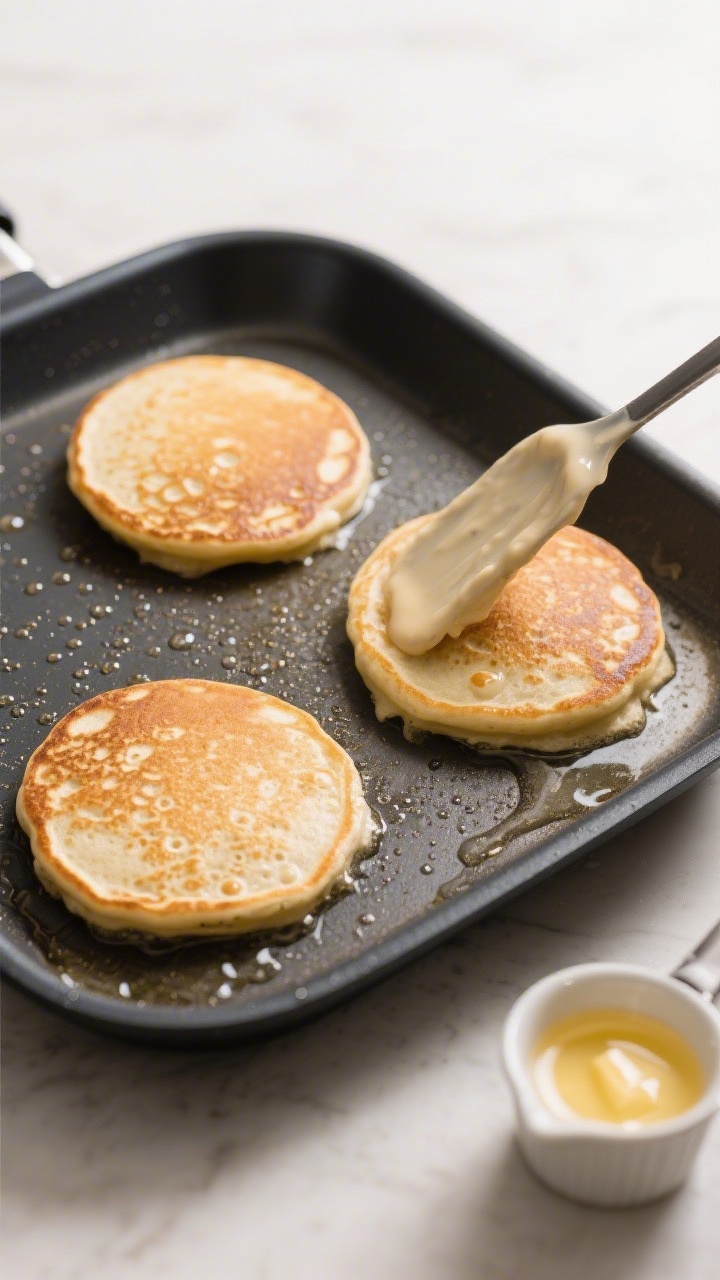
- Portion and cook: Scoop 1/4 cup of batter per pancake onto the skillet. Cook until bubbles form and the edges look set, about 2 to 3 minutes.
- Flip gently: Slide a spatula under the pancake, lift smoothly, and flip.
Cook 1 to 2 more minutes until the center springs back when tapped and the underside is golden.
- Keep them warm: Transfer cooked pancakes to a 200°F oven while you finish the batch. This keeps them fluffy without drying out.
- Serve: Top with butter, warm maple syrup, fresh fruit, or yogurt. Enjoy immediately for the best texture.
How to Store
- Refrigerate: Cool completely, then place in an airtight container with parchment between layers.
Store up to 3 days.
- Freeze: Arrange in a single layer on a sheet pan to freeze, then transfer to a freezer bag. Keeps well for up to 2 months.
- Reheat: Toast directly from the fridge or freezer until hot and lightly crisped. Or warm in a 300°F oven for 8 to 10 minutes.
A quick microwave burst (20–30 seconds) works in a pinch, but finish in a dry skillet for better texture.
Why This is Good for You
- Gentle on gluten-free diets: An all-purpose gluten-free blend lets you enjoy a classic breakfast without digestive stress.
- Balanced ingredients: Eggs bring protein, while milk adds calcium. You control the sugar and fat based on your toppings and milk choice.
- Customizable nutrition: Swap in non-dairy milk, add ground flaxseed, or top with Greek yogurt and fruit for extra protein and fiber.
- Satisfying energy: The combination of carbs and protein helps keep you full and fuels busy mornings.
Common Mistakes to Avoid
- Using the wrong flour blend: Not all gluten-free flours act the same. Choose a high-quality all-purpose blend.
If it lacks xanthan gum, add it for structure.
- Overmixing the batter: Stir until just smooth. Overmixing can make pancakes tough and flat.
- Skipping the resting time: Those 5 minutes help hydrate the flour and improve lift. Don’t rush it.
- Cooking on high heat: Too hot and the outside burns before the inside cooks.
Medium heat is your friend.
- Flipping too early: Wait until you see bubbles across the surface and the edges look set. A confident, single flip yields the best texture.
- Measuring loosely: Spoon and level your flour instead of scooping. Too much flour leads to dense pancakes.
Variations You Can Try
- Blueberry Lemon: Fold 1/2 cup fresh or frozen blueberries and 1 teaspoon lemon zest into the batter.
Cook a bit longer if using frozen.
- Chocolate Chip: Stir in 1/3 cup mini chocolate chips and a pinch of cinnamon for a cozy twist.
- Dairy-Free: Use oat or almond milk and swap butter for neutral oil or melted dairy-free butter.
- Banana Walnut: Mash 1 small ripe banana and reduce milk slightly to keep the batter thick. Add 1/4 cup chopped walnuts.
- Protein Boost: Replace 1/4 cup of the flour with your favorite gluten-free protein powder and add an extra tablespoon of milk if needed.
- Spiced Chai: Mix in 1/2 teaspoon ground cinnamon, 1/4 teaspoon cardamom, and a pinch of ginger and cloves.
FAQ
Can I make the batter ahead of time?
It’s best to cook the batter soon after mixing, since the leaveners start working right away. If you need to prep ahead, mix the dry ingredients and wet ingredients separately, then combine just before cooking.
What if my pancakes are gummy in the middle?
Gumminess often comes from undercooking or too much liquid.
Lower the heat slightly and give them another minute per side. Make sure your batter is thick but pourable, and rest it for 5 minutes before cooking.
Do I need xanthan gum?
If your all-purpose gluten-free flour already includes xanthan gum or a similar binder, you’re set. If not, adding 1/2 teaspoon helps the pancakes hold together and stay fluffy rather than crumbly.
Can I make these egg-free?
Yes.
Use two flax eggs (2 tablespoons ground flaxseed mixed with 5 tablespoons water, rested for 5 minutes) or an egg replacer. The texture will be slightly denser, so keep the batter on the thicker side and cook a touch longer on lower heat.
How do I know when to flip?
Look for bubbles forming across the surface and edges that appear set and matte, not glossy. Slide a spatula under the edge—if it releases easily and the bottom is golden, flip once.
What’s the best pan to use?
A nonstick skillet or a well-seasoned cast-iron pan works great.
A flat griddle gives you more room and even heat. Keep the surface lightly greased to prevent sticking without frying.
Can I reduce the sugar?
Absolutely. You can cut it to 1–2 tablespoons or omit it if your toppings are sweet.
Sugar adds slight browning and tenderness, so expect a paler pancake if you skip it.
Final Thoughts
These fluffy pancakes with all-purpose gluten-free flour deliver the comfort of a classic stack with a tender crumb and reliable rise. With a few smart steps—resting the batter, keeping the heat moderate, and using a good flour blend—you’ll get consistent, golden results every time. Keep this recipe handy for slow weekends, quick weekday treats, and brunch with friends who’ll never guess they’re gluten-free.
Top them your way and enjoy every bite.
Printable Recipe Card
Want just the essential recipe details without scrolling through the article? Get our printable recipe card with just the ingredients and instructions.