Strawberry Mango Split Cake
So, you’re craving something fruity, creamy, and a little over-the-top—but also don’t want to spend three hours in the kitchen making a cake worthy of a reality show? Same.
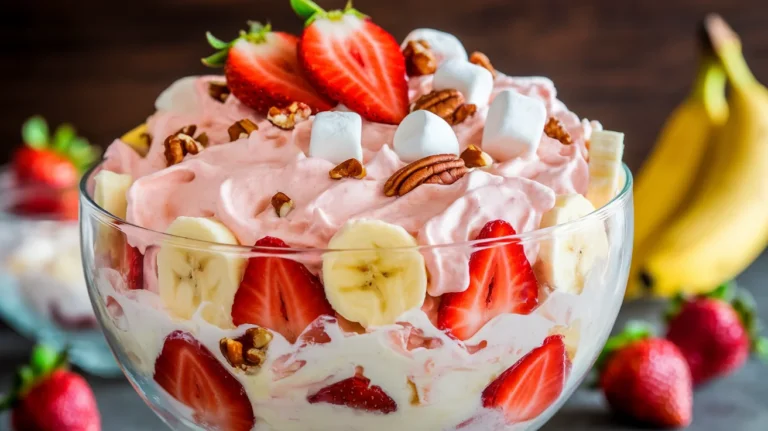
Meet the Strawberry Mango Split Cake—it’s like a tropical vacation and a retro banana split had a very delicious baby. Sweet strawberries, tangy mango, and layers of fluffy cake? Yes, please.
This cake is the kind of dessert you make when you want to wow people but secretly know you only used one bowl and minimal brain cells. I mean, life’s too short for fussy desserts.
Why This Recipe is Awesome
- It’s idiot-proof. Seriously, if I managed to bake this without burning it or forgetting the sugar, you can too.
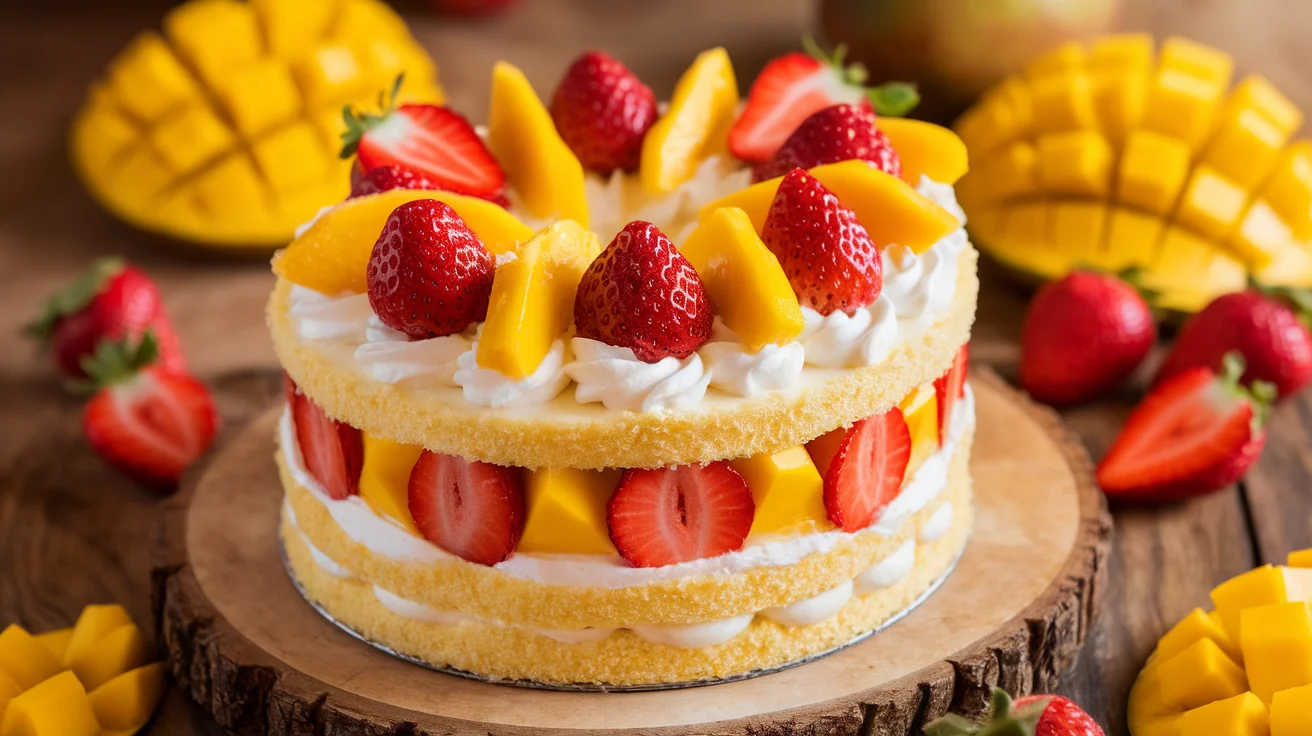
- It looks fancy AF. Layers of yellow cake, whipped cream, fresh fruit—boom. Instant Instagram moment.
- Tropical vibes. Strawberries and mango together? It’s basically a beach party in your mouth.
- Make-ahead friendly. Bake the cake a day before, assemble later, and still look like a baking wizard.
Ingredients You’ll Need
For the Cake
- 2 cups all-purpose flour (or the fancy organic stuff if you’re feeling extra)
- 1 ½ teaspoons baking powder
- ½ teaspoon baking soda
- ½ teaspoon salt (don’t skip unless you enjoy bland cake)
- ¾ cup unsalted butter, softened (not melted; we’re not making soup here)
- 1 ½ cups granulated sugar
- 3 large eggs
- 1 teaspoon pure vanilla extract (the good stuff, not the weird imitation one)
- 1 cup buttermilk (or regular milk with a squeeze of lemon juice—see subs section)
For the Filling/Topping
- 1 cup heavy whipping cream, chilled
- 3 tablespoons powdered sugar
- 1 teaspoon vanilla extract
- 1 ½ cups diced fresh strawberries
- 1 ½ cups diced ripe mango
- Optional: chocolate drizzle or crushed nuts for that “split” vibe
Step-by-Step Instructions
- Preheat the oven to 350°F (175°C). Yes, actually do it. Don’t be that person who remembers halfway through mixing.
- Prep your pans. Grease and flour two 8-inch round cake pans. Line the bottoms with parchment if you’re paranoid (I am).
- Mix dry ingredients. In a medium bowl, whisk together flour, baking powder, baking soda, and salt. Set aside like a pro.
- Cream butter and sugar. In a large bowl, beat butter and sugar until light and fluffy—about 3 minutes. Pretend you’re in a cooking show; it helps.
- Add eggs and vanilla. Beat in eggs one at a time, then add vanilla. Keep scraping the bowl. Lazy mixing = weird lumps.
- Combine wet and dry. Add dry ingredients in three parts, alternating with buttermilk. Mix just until smooth. Don’t overmix unless you want a dense brick.
- Bake. Divide batter evenly between the pans. Bake for 25–30 minutes or until a toothpick comes out clean.
- Cool. Let cakes cool in pans for 10 minutes, then turn out onto a wire rack. No shortcuts—warm cake + cream = sad melty mess.
- Make whipped cream. Beat chilled cream with powdered sugar and vanilla until stiff peaks form. Don’t overbeat or you’ll make butter (been there).
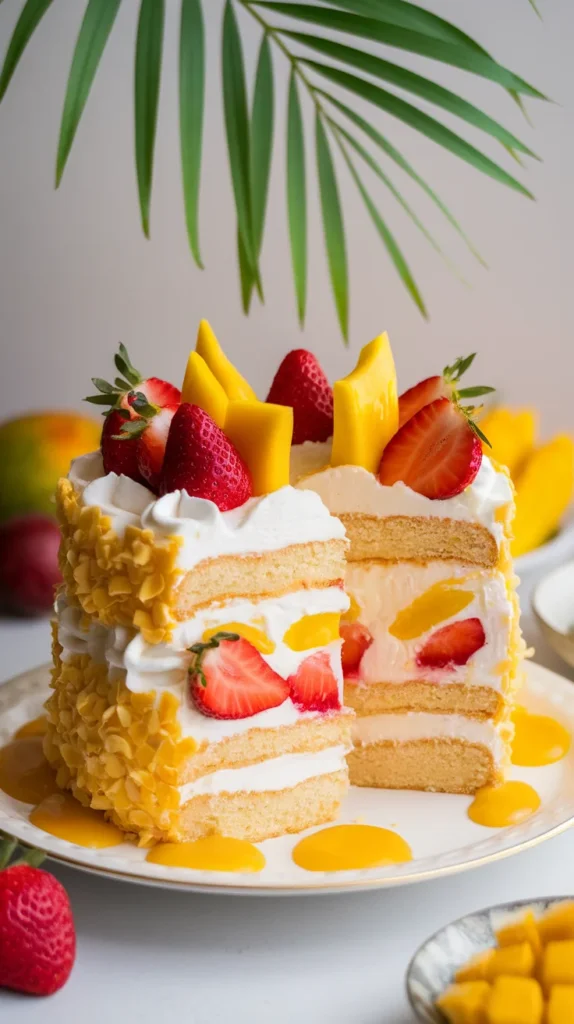
- Assemble the cake. Place one cake layer on a plate. Spread whipped cream generously, sprinkle diced strawberries and mango. Top with second cake layer. Repeat cream and fruit. Optional drizzle of chocolate and nuts for the banana-split aesthetic.
- Chill before serving. Stick the cake in the fridge for at least 30 minutes to set. Slice, serve, bask in compliments.
Nutritional Facts
| Nutrient (per slice) | Amount |
|---|---|
| Calories | ~320 kcal |
| Carbohydrates | 38 g |
| Protein | 5 g |
| Fat | 17 g |
| Saturated Fat | 10 g |
| Fiber | 2 g |
| Sugars | 24 g |
| Sodium | 190 mg |
This cake isn’t a kale smoothie, but it does have real fruit, some protein from eggs and cream, and fewer weird additives than store-bought desserts. IMO, desserts are about joy and balance—this one nails both.
Common Mistakes to Avoid
- Skipping the preheat. Cold oven = sad, flat cake. Rookie move.
- Overmixing the batter. You’re making cake, not bread dough. Chill.
- Using frozen fruit straight out of the bag. Defrost and drain first or you’ll have a soggy slip-n-slide situation.
- Assembling while the cake is warm. Whipped cream + heat = culinary disaster.
- Forgetting parchment. You’ll regret it when half your cake stays in the pan.
Alternatives & Substitutions
- Buttermilk hack: 1 cup milk + 1 tablespoon lemon juice or vinegar. Wait 5 minutes. Done.
- Fruit swap: Pineapple or peaches work great if mango’s out of season. (I once used kiwi—looked weird, tasted amazing.)
- Whipped cream cheat: Cool Whip works in a pinch, but you lose some street cred.
- Cake base switch: Use a box mix if you’re short on time. I won’t judge (much).
FAQ (Frequently Asked Questions)
Q1: Can I make this as cupcakes?
Yes! Bake in lined muffin tins for 18–20 minutes. Mini tropical vibes FTW.
Q2: Can I use margarine instead of butter?
Technically yes, but why hurt your soul like that? Butter = flavor.
Q3: Do I have to use fresh mango?
Nope. Canned or frozen (thawed and drained) works fine. Just expect a softer texture.
Q4: How far ahead can I make it?
Bake the cake a day ahead, wrap tightly, assemble with cream and fruit the day you’re serving. Keeps up to 2 days in the fridge.
Q5: Can I skip the whipped cream?
You can, but then it’s basically fruit on cake. Which is fine, but not this cake.
Q6: Is this cake kid-friendly?
Absolutely. It’s colorful, fruity, and not boozy. Just don’t let them lick the beaters unsupervised.
Q7: Can I make it vegan?
With some effort—use plant-based butter, a vegan egg substitute, and coconut whipped cream. Not the same, but still yummy.
Final Thoughts
There you have it—your new go-to Strawberry Mango Split Cake. It’s colorful, it’s flavorful, and it’s way easier than it looks. Now go impress someone—or just yourself—because you totally deserve a slice of cake that tastes like summer.
Life’s too short for boring desserts, so whip this up, post a pic, and bask in the DMs asking for your “secret recipe.” You’re welcome. 🎂
Printable Recipe Card
Want just the essential recipe details without scrolling through the article? Get our printable recipe card with just the ingredients and instructions.