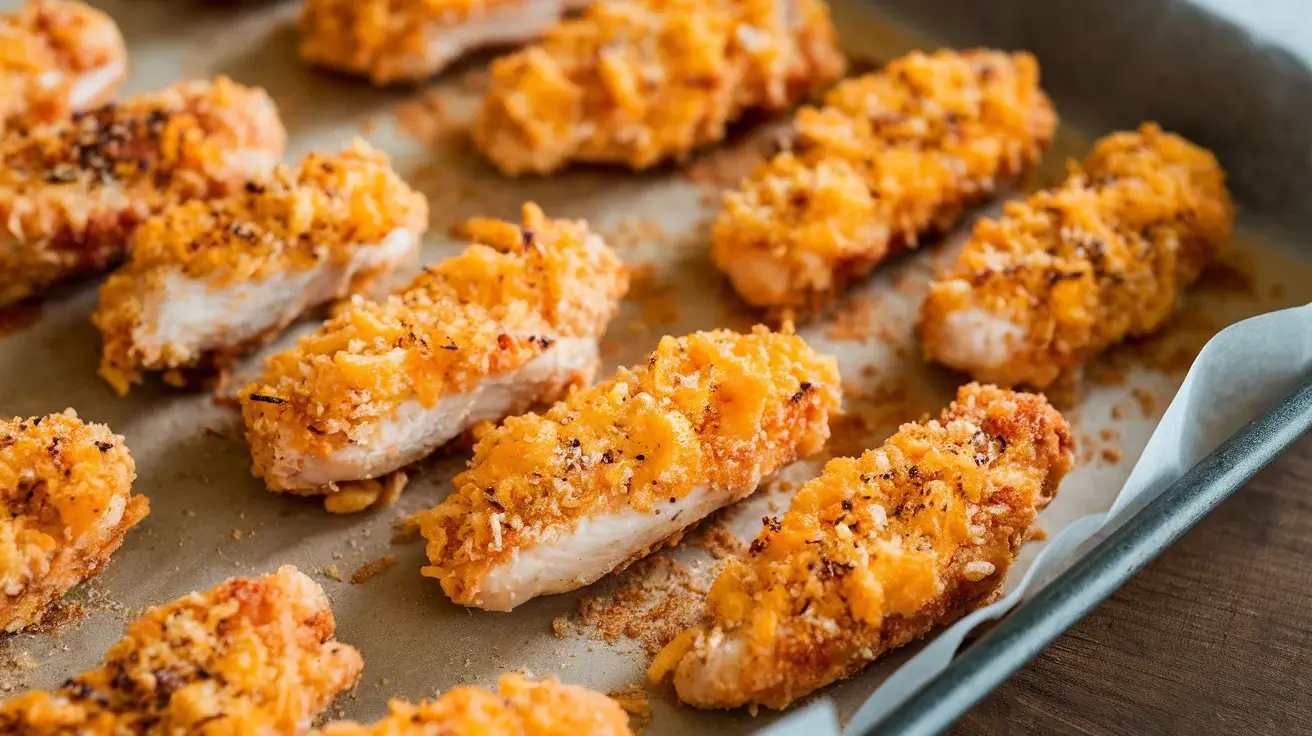
Crunchy Parmesan Oven-Baked Chicken Fingers
So you’re craving something crunchy, cheesy, and wildly snackable—but the idea of deep-frying anything feels like way too much effort (and cleanup). Same.
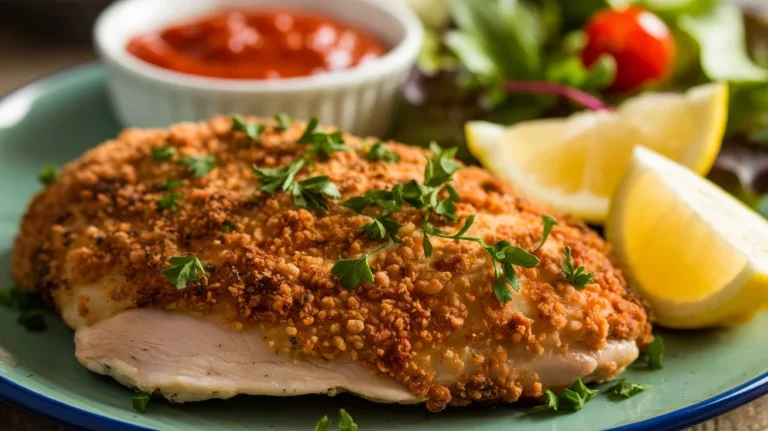
That’s exactly where Crunchy Parmesan Oven-Baked Chicken Fingers come in. These bad boys are crispy on the outside, tender on the inside, and baked like responsible adults—yet somehow still taste like a cheat meal.
They’re the kind of chicken fingers that make you say, “Wait… these are baked?” and then immediately reach for another one. No fryer, no oil splatters, no regrets. Let’s make chicken fingers that actually respect your time and energy.

Crunchy Parmesan Oven-Baked Chicken Fingers
Ingredients
- Chicken fingers or chicken breasts cut into strips – The star of the show. Keep them similar in size so nobody cooks faster than the others.
- Breadcrumbs or panko – Panko = extra crunch. Regular breadcrumbs still get the job done.
- Grated Parmesan cheese – Freshly grated if possible. This is where the magic lives.
- Eggs – The glue. Without this chaos.
- Olive oil or melted butter – Helps everything crisp and turn golden instead of sad beige.
- Garlic powder – Because plain chicken is boring.
- Paprika – Adds color and mild smoky vibes.
- Salt & black pepper – Essential. No seasoning = disappointment.
- Optional spices Italian seasoning, onion powder, chili flakes – Use your instincts. Or your mood.
Instructions
- Preheat your oven to 400°F (200°C).
- Yes, actually preheat it. This is not a “the oven will warm up eventually” situation. A hot oven is the secret to crunch.
- Set up your coating station.
- Beat the eggs in one bowl. In another bowl, mix breadcrumbs, Parmesan, garlic powder, paprika, salt, pepper, and any extra spices you’re feeling brave enough to add.
- Coat the chicken.
- Dip each chicken strip into the egg, then press it firmly into the Parmesan breadcrumb mix. Don’t be shy—commit to the coating.
- Arrange on a baking sheet.
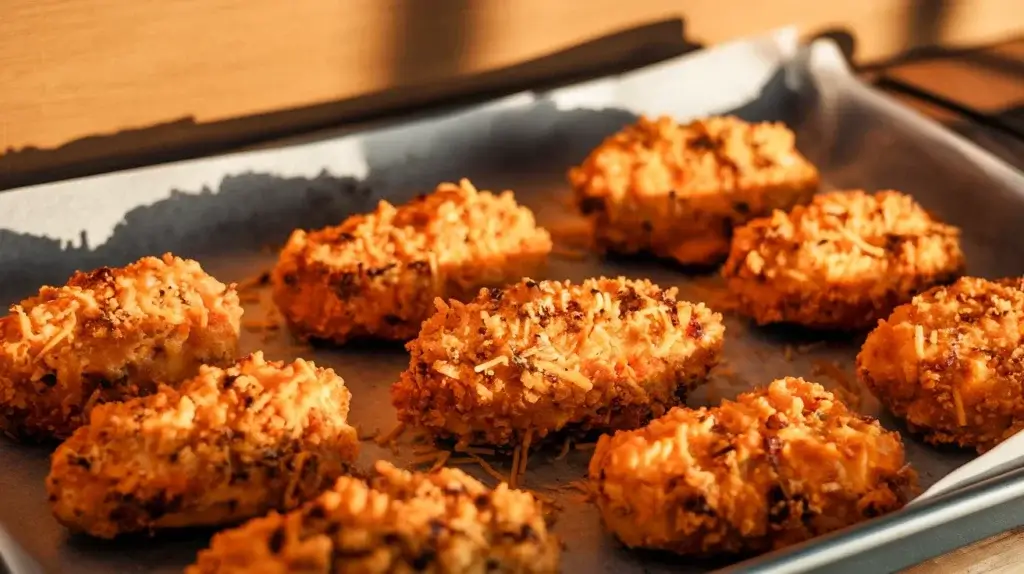
- Line a baking tray with parchment paper or lightly grease it. Place chicken fingers in a single layer with space between them. Crowding leads to steaming, not crisping.
- Add a little fat (trust me).
- Lightly drizzle or spray the chicken with olive oil or melted butter. This helps everything brown evenly and taste amazing.
- Bake until golden and crispy.
- Bake for 18–22 minutes, flipping halfway through. You’re looking for a deep golden crust and an internal temp of 165°F.
- Rest briefly, then attack.
- Let them rest for 2–3 minutes so the juices stay inside. Then serve immediately with your favorite dipping sauces.
Why This Recipe Is Awesome
First of all, it’s ridiculously easy. Like, “I made this while half-watching a show” easy. If you can dip chicken into things and turn on an oven, you’re golden. Literally.
Second, the Parmesan coating takes these from basic to why are these so good? territory. The cheese crisps up beautifully in the oven, giving you that deep golden crunch without frying. Plus, baking means less oil, less mess, and fewer life choices to question afterward.
And let’s be honest—this recipe is crowd-approved. Kids love it. Adults love it. You will love it standing over the tray “just tasting one more.” It’s idiot-proof, even I didn’t mess it up.
Ingredients You’ll Need
- Chicken fingers or chicken breasts (cut into strips) – The star of the show. Keep them similar in size so nobody cooks faster than the others.
- Breadcrumbs or panko – Panko = extra crunch. Regular breadcrumbs still get the job done.
- Grated Parmesan cheese – Freshly grated if possible. This is where the magic lives.
- Eggs – The glue. Without this, chaos.
- Olive oil or melted butter – Helps everything crisp and turn golden instead of sad beige.
- Garlic powder – Because plain chicken is boring.
- Paprika – Adds color and mild smoky vibes.
- Salt & black pepper – Essential. No seasoning = disappointment.
- Optional spices (Italian seasoning, onion powder, chili flakes) – Use your instincts. Or your mood.
Step-by-Step Instructions
- Preheat your oven to 400°F (200°C).
Yes, actually preheat it. This is not a “the oven will warm up eventually” situation. A hot oven is the secret to crunch. - Set up your coating station.
Beat the eggs in one bowl. In another bowl, mix breadcrumbs, Parmesan, garlic powder, paprika, salt, pepper, and any extra spices you’re feeling brave enough to add. - Coat the chicken.
Dip each chicken strip into the egg, then press it firmly into the Parmesan breadcrumb mix. Don’t be shy—commit to the coating. - Arrange on a baking sheet.
Line a baking tray with parchment paper or lightly grease it. Place chicken fingers in a single layer with space between them. Crowding leads to steaming, not crisping. - Add a little fat (trust me).
Lightly drizzle or spray the chicken with olive oil or melted butter. This helps everything brown evenly and taste amazing. - Bake until golden and crispy.
Bake for 18–22 minutes, flipping halfway through. You’re looking for a deep golden crust and an internal temp of 165°F. - Rest briefly, then attack.
Let them rest for 2–3 minutes so the juices stay inside. Then serve immediately with your favorite dipping sauces.
Nutritional Facts
| Nutrient (Per Serving) | Approx. Amount |
|---|---|
| Calories | 330 kcal |
| Protein | 34 g |
| Fat | 13 g |
| Carbohydrates | 21 g |
| Fiber | 2 g |
| Sodium | 520 mg |
These oven-baked chicken fingers are high in protein, which helps keep you full and satisfied without the heavy, greasy feeling of fried food. Baking instead of frying significantly reduces unnecessary fats while still delivering serious crunch and flavor. Personally, I love that I can eat these, enjoy every bite, and not feel like I need to lie down afterward. Pair them with veggies or a salad and suddenly you’re being “balanced.”
Common Mistakes to Avoid
- Skipping the preheat. Thinking you can cheat this step is a rookie mistake. You can’t.
- Overcrowding the pan. If the chicken is touching, it’s steaming. Steam is the enemy of crunch.
- Under-seasoning. Parmesan helps, but spices matter. Don’t be shy.
- Forgetting the oil. No oil = pale chicken fingers with commitment issues.
- Overbaking. Dry chicken is sad chicken. Watch the clock.
Alternatives & Substitutions
- No Parmesan? Use pecorino or nutritional yeast for a cheesy vibe.
- Gluten-free? Gluten-free breadcrumbs or crushed rice crackers work great.
- Want it spicy? Add cayenne or chili flakes to the coating. Highly recommended IMO.
- Air fryer option? Absolutely—10–12 minutes at 375°F, flipping halfway.
- Dairy-free? Skip the cheese and add extra seasoning. Still tasty, just less cheesy drama.
Personally, I think Parmesan is non-negotiable here—but your kitchen, your rules.
FAQ (Frequently Asked Questions)
Can I use chicken breasts instead of fingers?
Of course. Just slice them evenly so they cook at the same rate. Uneven chicken is chaos.
Why aren’t my chicken fingers crispy enough?
Either the oven wasn’t hot enough or you skipped the oil. Or both. Be honest.
Can I prep these ahead of time?
Yes! Bread them and refrigerate up to 8 hours before baking. Future you will be grateful.
Can I freeze them?
Yep. Freeze after baking, then reheat in the oven or air fryer for best results.
What dipping sauces work best?
Ranch, honey mustard, BBQ, marinara, buffalo sauce—basically anything you already love.
Can I use margarine instead of butter?
Well, technically yes—but why hurt your soul like that?
Final Thoughts
These Crunchy Parmesan Oven-Baked Chicken Fingers prove that you don’t need a fryer—or a mountain of oil—to make something insanely satisfying. They’re crispy, cheesy, reliable, and dangerously easy to eat straight off the tray.
Now go impress someone—or yourself—with your new chicken finger mastery. You’ve earned it. And if you “accidentally” eat half before serving? That’s just quality control.
Printable Recipe Card
Want just the essential recipe details without scrolling through the article? Get our printable recipe card with just the ingredients and instructions.