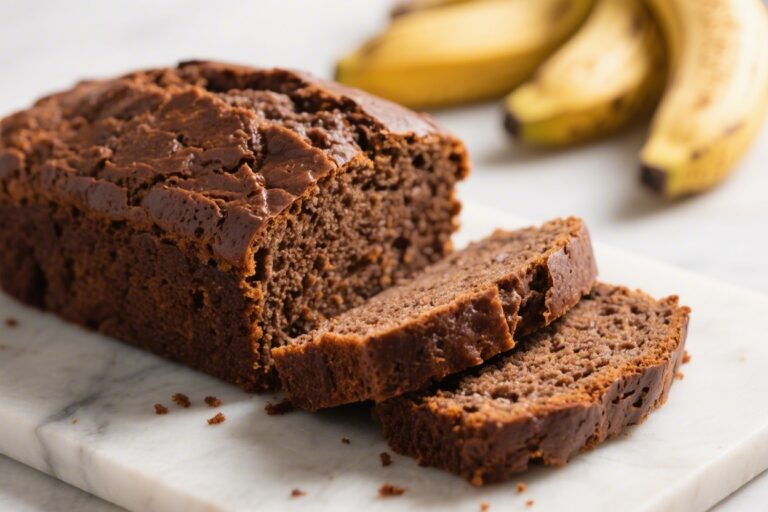
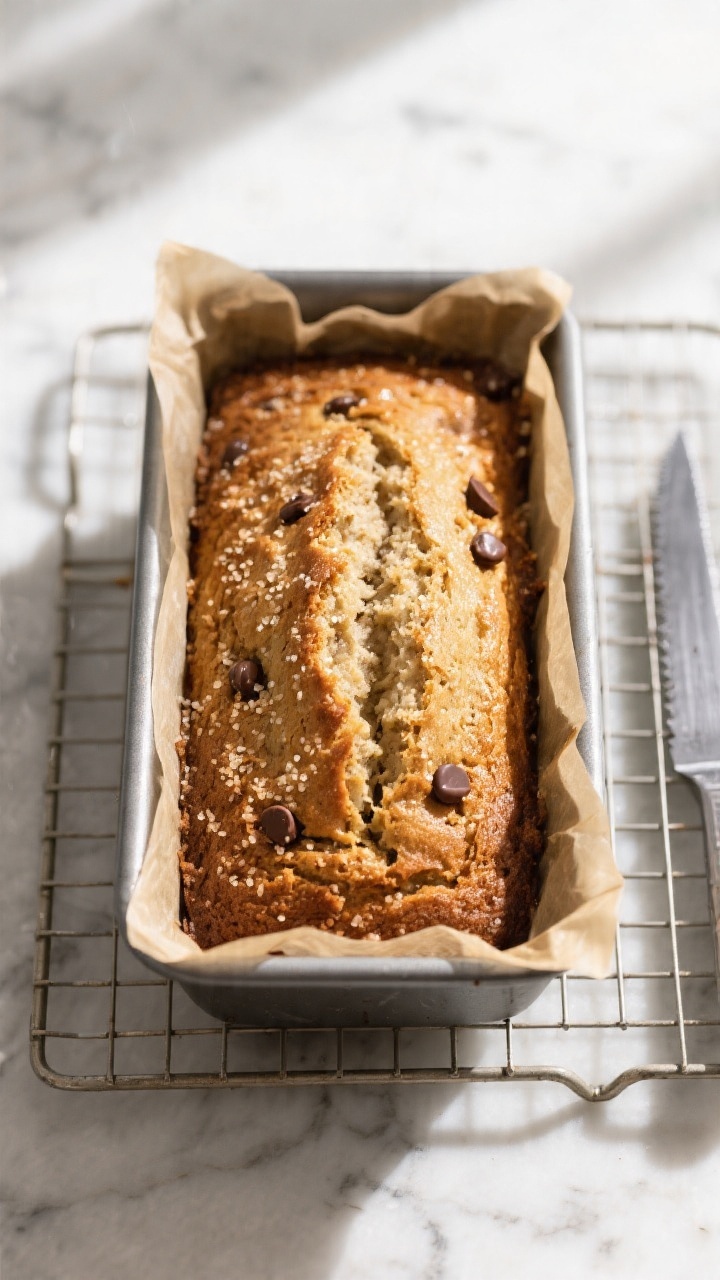
Bakery-Style Gluten-Free Banana Bread with Chocolate Chips – Moist, Tender, and Easy
Warm banana bread that smells like a bakery and slices like a dream? That’s the goal here. This gluten-free loaf is soft in the middle, golden on top, and studded with melty chocolate chips.
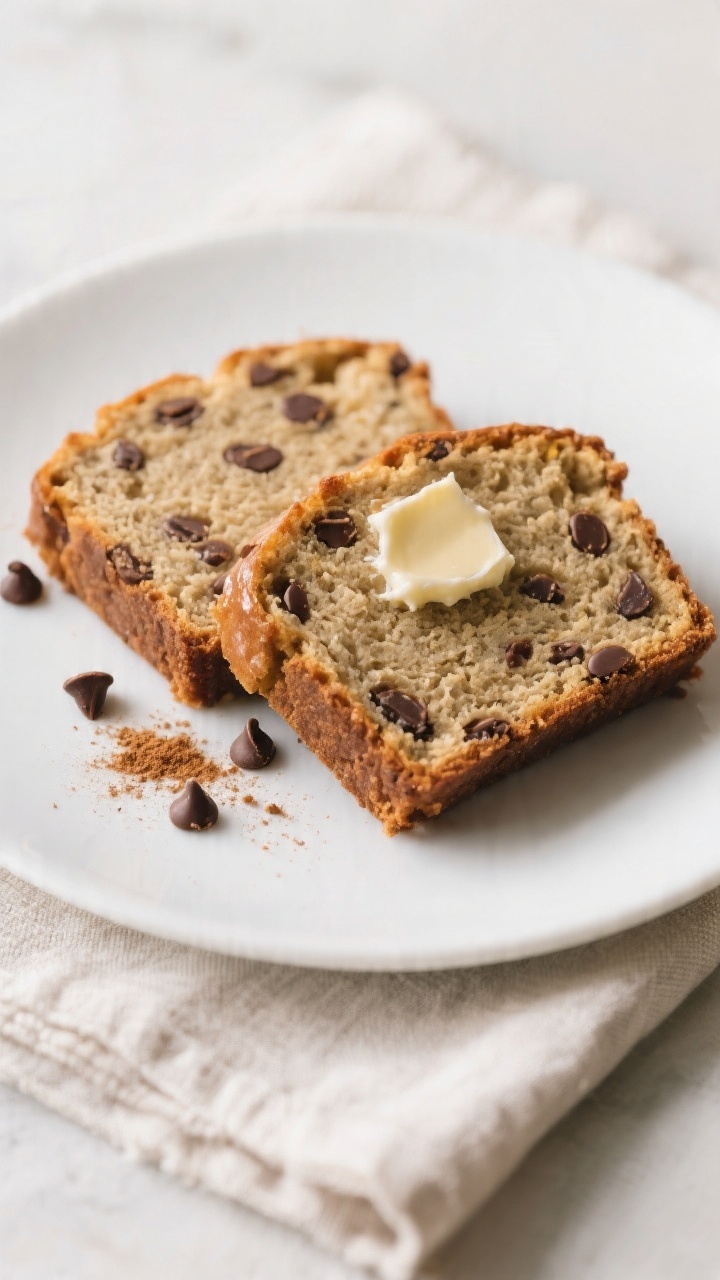
It’s just sweet enough, with a rich banana flavor and a hint of vanilla. You don’t need fancy techniques or hard-to-find ingredients, just a good mixing bowl and ripe bananas. Keep a slice for breakfast, pack one for a snack, or serve it warm with a little butter for dessert.
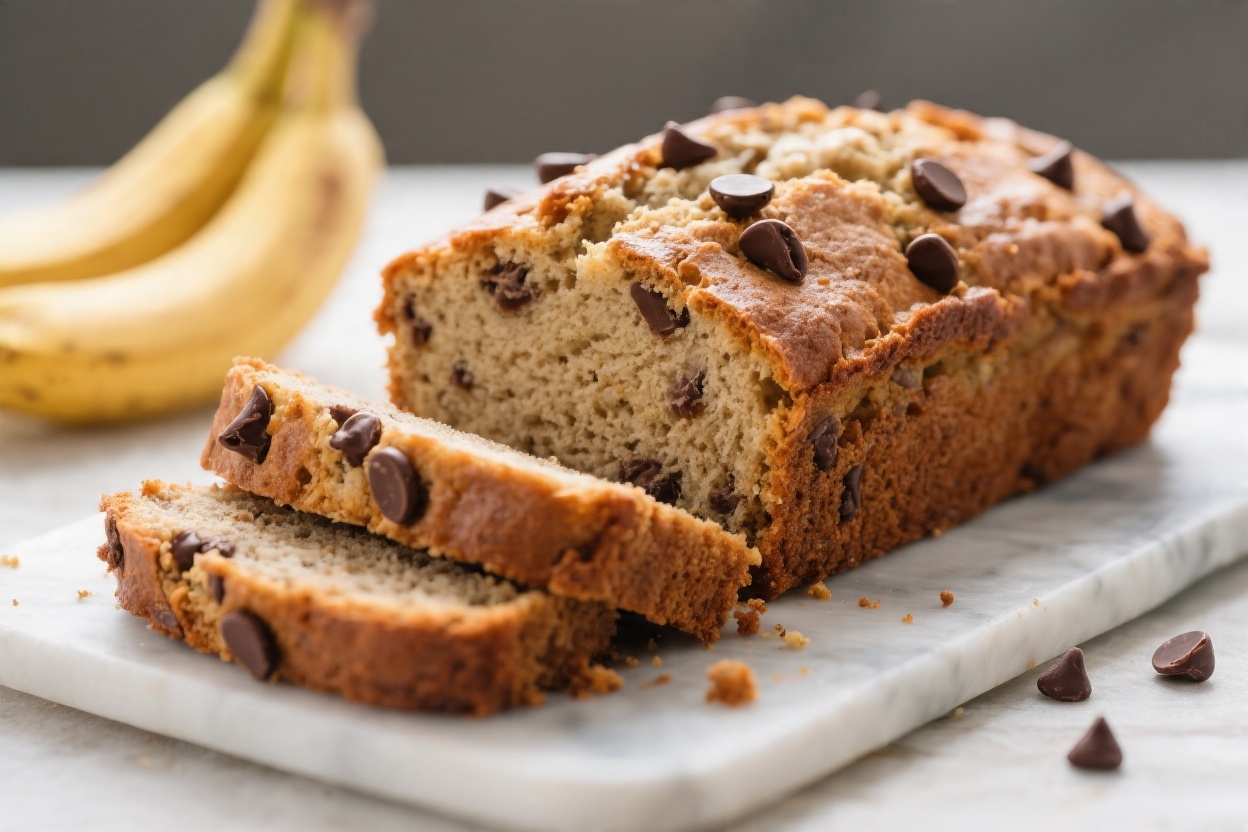
Bakery-Style Gluten-Free Banana Bread with Chocolate Chips - Moist, Tender, and Easy
Ingredients
- 3 large very ripe bananas (about 1 1/3 to 1 1/2 cups mashed)
- 2 large eggs, room temperature
- ⅓ cup neutral oil (avocado, canola, or light olive)
- ⅓ cup plain yogurt or sour cream (dairy-free is fine)
- ⅔ cup light brown sugar, packed
- 1 teaspoon vanilla extract
- 1 3/4 cups gluten-free all-purpose flour (1:1 blend with xanthan gum)
- 1 teaspoon baking soda
- 1 teaspoon baking powder
- ½ teaspoon fine sea salt
- 1 teaspoon ground cinnamon (optional but recommended)
- ¾ to 1 cup chocolate chips (mini or regular; dairy-free if needed)
- 2 tablespoons turbinado sugar for topping (optional, but gives a lovely crust)
Instructions
- Prep the pan and oven: Preheat the oven to 350°F (175°C). Line a 9x5-inch loaf pan with parchment, leaving overhang for easy lifting. Lightly grease the sides.
- Mash the bananas: In a large bowl, mash the bananas until mostly smooth with a few small lumps. You want about 1 1/3 to 1 1/2 cups.
- Whisk wet ingredients: Add eggs, oil, yogurt, brown sugar, and vanilla. Whisk until well combined and glossy.
- Combine dry ingredients: In a separate bowl, whisk the gluten-free flour, baking soda, baking powder, salt, and cinnamon. This prevents clumps and ensures even lift.
- Bring it together: Add the dry ingredients to the wet. Stir gently with a spatula until just combined. A few streaks of flour are okay. Do not overmix.
- Add chocolate chips: Fold in the chocolate chips, reserving a tablespoon to sprinkle on top if you like.
- Fill the pan: Scrape the batter into the prepared pan. Smooth the top, then sprinkle with the reserved chips and turbinado sugar for a bakery-style finish.
- Bake: Place on the center rack and bake for 55–70 minutes. Start checking at 55 minutes. The loaf is done when a toothpick inserted in the center comes out with a few moist crumbs, not wet batter.
- Cool properly: Let the loaf cool in the pan for 15 minutes, then lift it out using the parchment and transfer to a wire rack. Cool at least 1 hour before slicing for clean cuts.
- Slice and serve: Use a sharp serrated knife. For warm, melty chocolate, serve slightly warm. For neater slices, let it cool completely.
What Makes This Recipe So Good
- Bakery-style texture: Tender crumb, tall rise, and a crackly, golden top—no gummy center.
- Gluten-free without compromise: Made with a reliable 1:1 gluten-free flour blend, no weird aftertaste.
- Balanced sweetness: Ripe bananas and a touch of brown sugar create deep flavor without being cloying.
- Chocolate in every bite: Mini chips or finely chopped chocolate keep the distribution even.
- Simple method: One bowl, no mixer required, and pantry-friendly ingredients.
- Moist, not dense: A little oil plus yogurt keeps the loaf soft for days.
Shopping List
- 3 large very ripe bananas (about 1 1/3 to 1 1/2 cups mashed)
- 2 large eggs, room temperature
- 1/3 cup neutral oil (avocado, canola, or light olive)
- 1/3 cup plain yogurt or sour cream (dairy-free is fine)
- 2/3 cup light brown sugar, packed
- 1 teaspoon vanilla extract
- 1 3/4 cups gluten-free all-purpose flour (1:1 blend with xanthan gum)
- 1 teaspoon baking soda
- 1 teaspoon baking powder
- 1/2 teaspoon fine sea salt
- 1 teaspoon ground cinnamon (optional but recommended)
- 3/4 to 1 cup chocolate chips (mini or regular; dairy-free if needed)
- 2 tablespoons turbinado sugar for topping (optional, but gives a lovely crust)
Instructions
- Prep the pan and oven: Preheat the oven to 350°F (175°C).Line a 9×5-inch loaf pan with parchment, leaving overhang for easy lifting. Lightly grease the sides.
- Mash the bananas: In a large bowl, mash the bananas until mostly smooth with a few small lumps. You want about 1 1/3 to 1 1/2 cups.
- Whisk wet ingredients: Add eggs, oil, yogurt, brown sugar, and vanilla.Whisk until well combined and glossy.
- Combine dry ingredients: In a separate bowl, whisk the gluten-free flour, baking soda, baking powder, salt, and cinnamon. This prevents clumps and ensures even lift.
- Bring it together: Add the dry ingredients to the wet. Stir gently with a spatula until just combined.A few streaks of flour are okay. Do not overmix.
- Add chocolate chips: Fold in the chocolate chips, reserving a tablespoon to sprinkle on top if you like.
- Fill the pan: Scrape the batter into the prepared pan. Smooth the top, then sprinkle with the reserved chips and turbinado sugar for a bakery-style finish.
- Bake: Place on the center rack and bake for 55–70 minutes.Start checking at 55 minutes. The loaf is done when a toothpick inserted in the center comes out with a few moist crumbs, not wet batter.
- Cool properly: Let the loaf cool in the pan for 15 minutes, then lift it out using the parchment and transfer to a wire rack. Cool at least 1 hour before slicing for clean cuts.
- Slice and serve: Use a sharp serrated knife.For warm, melty chocolate, serve slightly warm. For neater slices, let it cool completely.
How to Store
- Room temperature: Wrap the cooled loaf tightly or store in an airtight container for up to 3 days. If your kitchen is very warm, store in the fridge after day 2.
- Refrigerator: Keeps up to 5 days.Warm slices in the microwave for 10–15 seconds to soften.
- Freezer: Slice, wrap each piece, and freeze in a zip-top bag for up to 3 months. Thaw at room temp or toast from frozen.
Why This is Good for You
- Bananas add natural sweetness and potassium, which helps balance fluids and support muscle function.
- Gluten-free and gut-friendly, especially for those with celiac disease or gluten sensitivity using a safe GF blend.
- Balanced fats and carbs from oil and yogurt make it satisfying and steady on energy, not a sugar bomb.
- Customizable sugar level lets you adjust to taste or dietary needs without losing texture.
What Not to Do
- Don’t use unripe bananas. Green or barely yellow bananas lack sweetness and flavor. Speckled or very spotty is best.
- Don’t skip the parchment. Gluten-free loaves can stick more.Lining the pan saves the day.
- Don’t overmix the batter. This can make the loaf dense and tough. Stir just until combined.
- Don’t underbake. A gummy center is usually from pulling it too early. Check multiple spots with a toothpick.
- Don’t cut it hot. Let it set up.Slicing too soon leads to crumbling and smashed slices.
Alternatives
- Dairy-free: Use coconut yogurt or a thick almond or soy yogurt. Choose dairy-free chocolate chips.
- Egg-free: Replace eggs with 2 flax eggs (2 tablespoons ground flax + 5 tablespoons water, rested 5–10 minutes). The loaf will be slightly denser but still tender.
- Refined sugar changes: Swap brown sugar with coconut sugar for a deeper, caramel note.Honey or maple works, but reduce to 1/2 cup and add 1 extra tablespoon flour.
- Add-ins: Fold in 1/2 cup chopped walnuts or pecans, or 1/2 cup shredded coconut. Keep total mix-ins to about 1 to 1 1/4 cups.
- Spice it up: Add 1/4 teaspoon nutmeg or 1/2 teaspoon pumpkin pie spice with the cinnamon for a cozy twist.
- Pan options: For muffins, bake at 350°F for 18–22 minutes. For an 8×4-inch pan, extend bake time slightly and don’t overfill—use a ramekin for extra batter.
FAQ
Which gluten-free flour works best?
A 1:1 all-purpose gluten-free blend with xanthan gum works best.
Brands vary, but look for one designed to replace wheat flour cup-for-cup. If your blend has no binder, add 1/2 teaspoon xanthan gum.
Can I reduce the sugar?
Yes. You can drop the brown sugar to 1/2 cup without losing structure.
The bananas provide sweetness, so the loaf will still taste good, just less dessert-like.
Why did my banana bread sink in the middle?
Common causes are underbaking, too much banana, or opening the oven door early. Measure your mashed banana, bake until the center tests done, and avoid peeking for the first 45 minutes.
How ripe should the bananas be?
Very ripe, with plenty of brown spots and a soft feel. If they’re barely speckled, roast unpeeled bananas on a sheet pan at 300°F for 15–20 minutes, then cool and use.
Can I make it nut-free?
Yes.
This recipe is naturally nut-free as written. Just double-check your chocolate chips and gluten-free flour to ensure they’re produced in nut-free facilities if needed.
Why use both baking soda and baking powder?
Bananas and brown sugar add acidity, which activates baking soda for lift and browning. Baking powder provides extra insurance for a tall dome and soft crumb.
Can I use coconut oil?
Yes.
Melt it and let it cool slightly before mixing. Make sure other ingredients are at room temperature so the oil doesn’t seize.
What’s the best way to get clean slices?
Cool the loaf completely, use a sharp serrated knife, and wipe the blade between cuts. For ultra-clean edges, chill the loaf for 30 minutes, then slice.
Wrapping Up
This bakery-style gluten-free banana bread nails the essentials: big banana flavor, a tender crumb, and chocolate in every bite.
The method is simple, the ingredients are easy to find, and the results are consistently great. Keep a few ripe bananas on the counter, and you’re always one hour away from a warm, home-baked treat that feels special any day of the week. Enjoy it plain, toasted with butter, or with a swipe of nut butter for a more filling snack.
Printable Recipe Card
Want just the essential recipe details without scrolling through the article? Get our printable recipe card with just the ingredients and instructions.