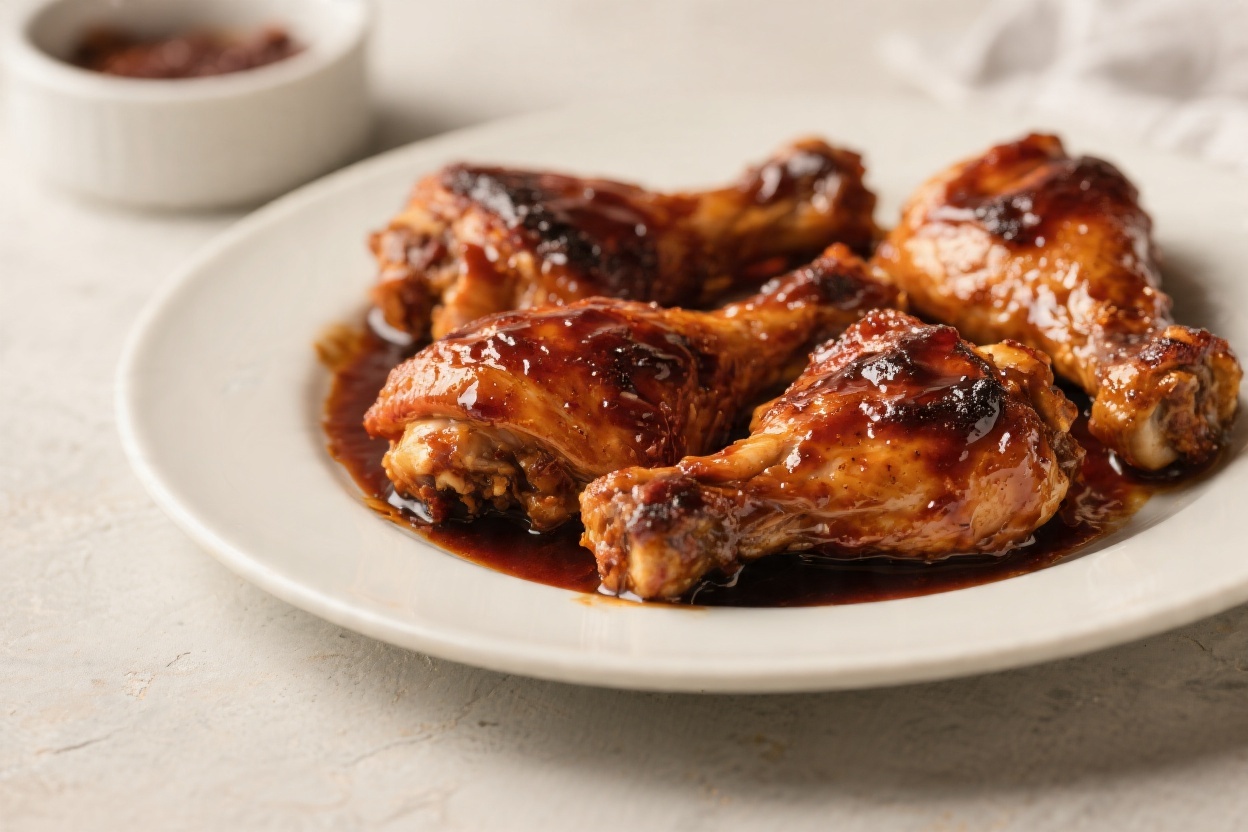
How to Make Tender BBQ Chicken Thighs in the Oven – Easy, Juicy, and Packed With Flavor
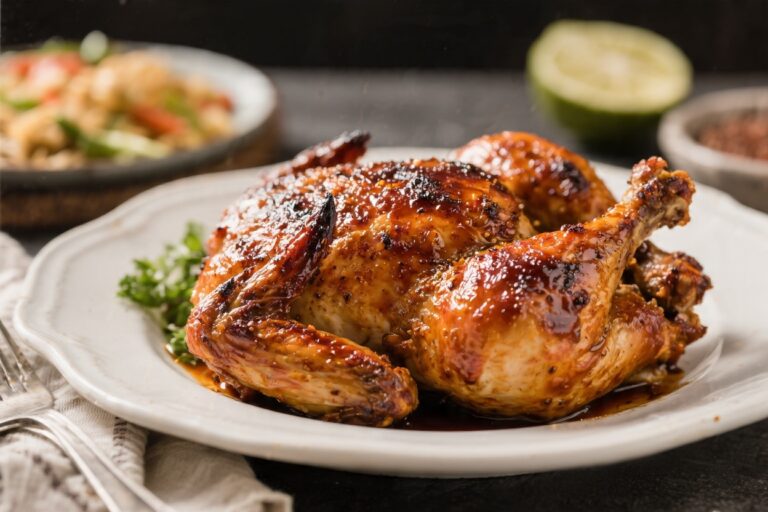
If you love sticky, saucy BBQ chicken but don’t want to stand by the grill, this oven-baked version is your weeknight hero. Chicken thighs stay juicy, the sauce caramelizes beautifully, and the clean-up is simple. You’ll get that cozy, slow-cooked feel without marinating overnight or babysitting a pan.
The best part? Most of the work happens in the oven while you get the sides ready.

How to Make Tender BBQ Chicken Thighs in the Oven - Easy, Juicy, and Packed With Flavor
Ingredients
- Bone-in, skin-on chicken thighs (6–8 pieces, about 2.5–3 lbs)
- BBQ sauce (about 1 cup; choose your favorite style—sweet, smoky, or spicy)
- Brown sugar (1 tablespoon)
- Smoked paprika (1 teaspoon)
- Garlic powder (1 teaspoon)
- Onion powder (1 teaspoon)
- Chili powder (1 teaspoon)
- Kosher salt (1 to 1.5 teaspoons)
- Black pepper (1/2 teaspoon)
- Apple cider vinegar (1 tablespoon, to brighten the sauce)
- Olive oil or neutral oil (1 tablespoon)
- Optional add-ins: Liquid smoke (a few drops), crushed red pepper flakes, honey for extra gloss
Instructions
- Preheat and prep the pan. Heat the oven to 400°F (200°C). Line a rimmed sheet pan with foil for easy cleanup. Set a wire rack inside and lightly oil it. This helps air circulate and keeps the thighs from getting soggy.
- Pat the chicken dry. Use paper towels to remove surface moisture. Dry skin is key for good browning and better sauce adhesion.
- Mix the dry rub. In a small bowl, combine brown sugar, smoked paprika, garlic powder, onion powder, chili powder, salt, and black pepper. Stir to break up any clumps.
- Season the thighs. Drizzle the thighs with oil, then sprinkle the rub evenly on all sides. Gently press it in so it sticks. Place the thighs skin-side up on the rack with a little space between each piece.
- Bake covered first. Loosely tent the pan with foil (don’t press it onto the chicken). Bake for 20 minutes. This step helps the meat cook gently and stay moist.
- Make the sauce blend. While the chicken starts cooking, mix your BBQ sauce with apple cider vinegar. If you like a smoky kick, add a drop or two of liquid smoke. For a shinier finish, whisk in a teaspoon of honey.
- Uncover and baste. Remove the foil and brush a thin layer of the sauce over each thigh. Return to the oven and bake for 15 minutes.
- Baste again. Add a second coat of sauce and bake another 10–15 minutes, until the internal temperature reaches 175–185°F (79–85°C). Thighs are more tender when cooked a bit higher than breasts because the connective tissue melts.
- Broil for char. Switch the oven to broil. Brush a final light layer of sauce and broil for 1–3 minutes, watching closely. You’re aiming for bubbling sauce and lightly caramelized edges, not burnt sugar.
- Rest and serve. Let the chicken rest 5–7 minutes so the juices settle. Finish with a final swipe of warmed sauce if you like. Serve with cornbread, coleslaw, grilled corn, or a simple green salad.
Why This Recipe Works
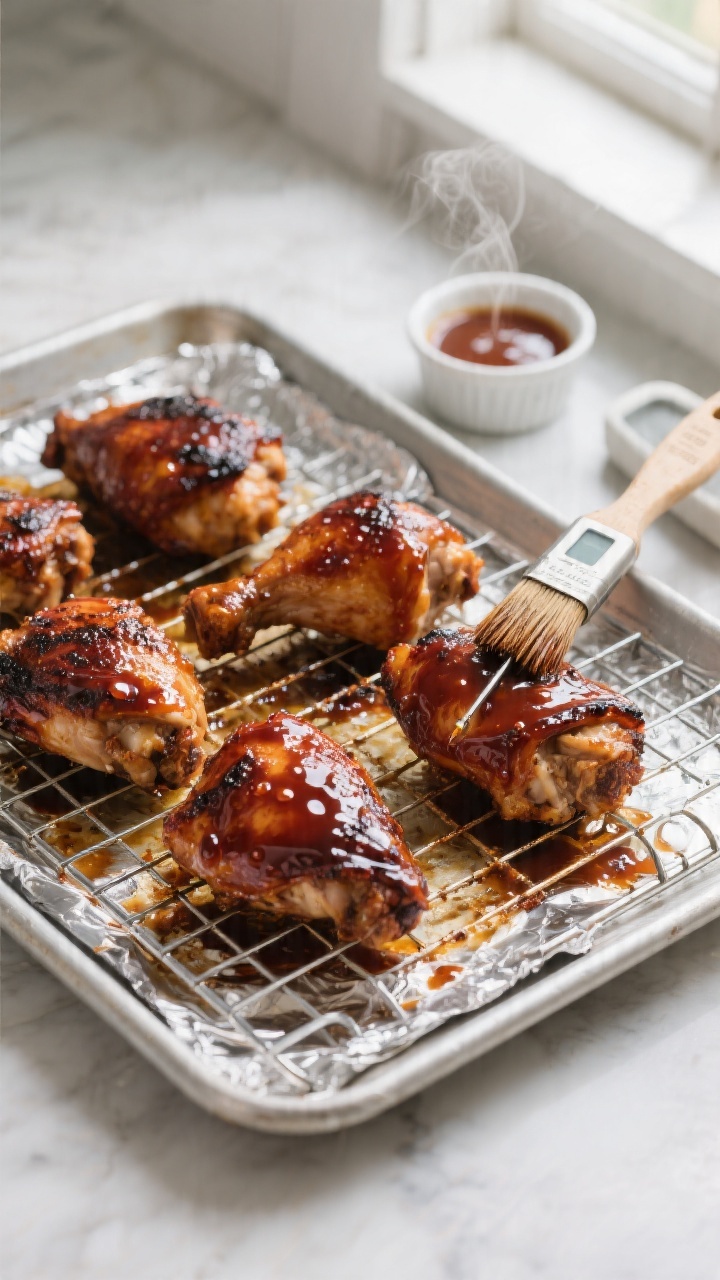
This method leans on the natural richness of chicken thighs. They’re more forgiving than breasts and stay tender even if they cook a few minutes longer.
A quick dry rub seasons the meat from the inside out, while a two-stage bake—first covered, then uncovered—locks in moisture and lets the BBQ sauce thicken and cling. A brief broil at the end gives you those slightly charred, caramelized edges that taste like backyard barbecue.
We also use a wire rack to elevate the thighs. This keeps the skin from steaming in its own juices and helps render fat evenly.
The result is juicy meat, a glossy coat of sauce, and a pleasantly crisp surface without being greasy.
Shopping List
- Bone-in, skin-on chicken thighs (6–8 pieces, about 2.5–3 lbs)
- BBQ sauce (about 1 cup; choose your favorite style—sweet, smoky, or spicy)
- Brown sugar (1 tablespoon)
- Smoked paprika (1 teaspoon)
- Garlic powder (1 teaspoon)
- Onion powder (1 teaspoon)
- Chili powder (1 teaspoon)
- Kosher salt (1 to 1.5 teaspoons)
- Black pepper (1/2 teaspoon)
- Apple cider vinegar (1 tablespoon, to brighten the sauce)
- Olive oil or neutral oil (1 tablespoon)
- Optional add-ins: Liquid smoke (a few drops), crushed red pepper flakes, honey for extra gloss
How to Make It
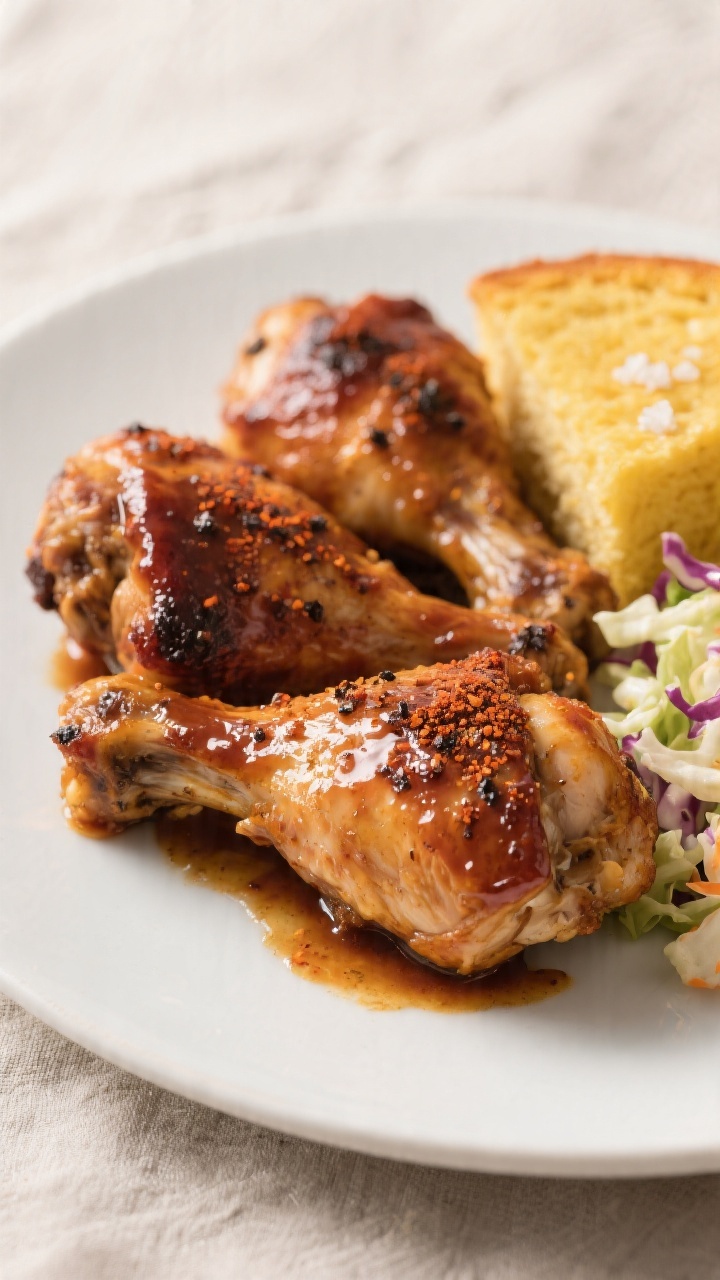
- Preheat and prep the pan. Heat the oven to 400°F (200°C). Line a rimmed sheet pan with foil for easy cleanup. Set a wire rack inside and lightly oil it.This helps air circulate and keeps the thighs from getting soggy.
- Pat the chicken dry. Use paper towels to remove surface moisture. Dry skin is key for good browning and better sauce adhesion.
- Mix the dry rub. In a small bowl, combine brown sugar, smoked paprika, garlic powder, onion powder, chili powder, salt, and black pepper. Stir to break up any clumps.
- Season the thighs. Drizzle the thighs with oil, then sprinkle the rub evenly on all sides.Gently press it in so it sticks. Place the thighs skin-side up on the rack with a little space between each piece.
- Bake covered first. Loosely tent the pan with foil (don’t press it onto the chicken). Bake for 20 minutes.This step helps the meat cook gently and stay moist.
- Make the sauce blend. While the chicken starts cooking, mix your BBQ sauce with apple cider vinegar. If you like a smoky kick, add a drop or two of liquid smoke. For a shinier finish, whisk in a teaspoon of honey.
- Uncover and baste. Remove the foil and brush a thin layer of the sauce over each thigh.Return to the oven and bake for 15 minutes.
- Baste again. Add a second coat of sauce and bake another 10–15 minutes, until the internal temperature reaches 175–185°F (79–85°C). Thighs are more tender when cooked a bit higher than breasts because the connective tissue melts.
- Broil for char. Switch the oven to broil. Brush a final light layer of sauce and broil for 1–3 minutes, watching closely.You’re aiming for bubbling sauce and lightly caramelized edges, not burnt sugar.
- Rest and serve. Let the chicken rest 5–7 minutes so the juices settle. Finish with a final swipe of warmed sauce if you like. Serve with cornbread, coleslaw, grilled corn, or a simple green salad.
Storage Instructions
- Refrigerate: Cool completely, then store in an airtight container for up to 4 days.
- Freeze: For best quality, freeze thighs in a freezer bag or airtight container for up to 3 months.Thaw overnight in the fridge.
- Reheat: Warm in a 325°F (165°C) oven, covered, for 12–15 minutes, then uncover and brush with a little sauce for 3–5 minutes to refresh the glaze. Microwave works in a pinch, but the oven preserves texture.
Health Benefits
Chicken thighs provide high-quality protein, which supports muscle repair and keeps you satisfied. They also contain iron, zinc, and B vitamins that help energy and immune function.
Using the oven lets you avoid heavy frying, and a wire rack helps excess fat render off. If you’re mindful of sugar and sodium, choose a lower-sugar, lower-sodium BBQ sauce or make your own so you control the balance.
Pitfalls to Watch Out For
- Soggy skin: Not drying the chicken or skipping the rack leads to steaming instead of browning.
- Burnt sauce:</-strong> BBQ sauce has sugar, which can scorch under high heat. Keep layers thin and watch closely during broiling.
- Undercooked near the bone: Thighs can look done on the outside but still be under near the joint.Use an instant-read thermometer in the thickest part, avoiding the bone.
- Skipping the rest: Slicing too soon lets juices run out. A brief rest makes a big difference.
- Overcrowding: If the pieces touch, they steam. Use two pans if needed.
Recipe Variations
- Sweet Heat: Add honey and a pinch of cayenne to the sauce.Finish with a squeeze of lime for contrast.
- Carolina Style: Swap your sauce for a tangy mustard BBQ sauce. Use extra apple cider vinegar and a touch of brown sugar.
- Smoky Maple: Stir maple syrup and a few drops of liquid smoke into the sauce. Great with roasted sweet potatoes.
- Dry-Rub Focused: Skip most of the sauce and double the rub.Baste lightly with melted butter and a splash of vinegar during the last 10 minutes, then brush on just a thin glaze.
- Boneless, Skinless Option: Use boneless thighs and reduce total bake time to about 25–30 minutes, saucing halfway. They cook faster, so watch closely.
FAQ
Can I use chicken breasts instead of thighs?
Yes, but adjust technique. Breasts dry out faster, so bake at 375°F (190°C) and pull them at 160°F (71°C), then rest to reach 165°F (74°C).
Keep sauce layers thin to avoid burning while the meat finishes.
What’s the best BBQ sauce for this?
Use what you love. A Kansas City–style sauce gives a classic sweet-smoky vibe, while Carolina gold is tangy and bold. If your sauce is very sweet, balance it with a splash of apple cider vinegar.
Do I have to use a wire rack?
No, but it helps.
If you don’t have one, line the pan with foil and place the thighs directly on it. Flip them once during the first half of cooking to reduce sogginess, and drain excess fat midway.
How do I know when the chicken is done?
Use an instant-read thermometer. For tender thighs, aim for 175–185°F (79–85°C).
The juices should run clear, and the meat will pull easily from the bone.
Can I marinate ahead of time?
Absolutely. Mix the dry rub with a tablespoon of oil and rub it under and over the skin. Refrigerate for up to 24 hours.
Sauce during baking as directed so it doesn’t burn.
How do I keep the sauce from burning under the broiler?
Keep the final layer thin, place the pan a few inches below the broiler, and watch closely. Pull as soon as the sauce bubbles and darkens slightly at the edges.
What sides go best with BBQ chicken thighs?
Try coleslaw, potato salad, baked beans, grilled corn, cornbread, mac and cheese, or a simple green salad with a bright vinaigrette.
Final Thoughts
With a reliable dry rub, smart oven timing, and a final broil, you can make BBQ chicken thighs that are juicy, flavorful, and weeknight-friendly. The method is flexible, the ingredients are simple, and the results feel like comfort food with very little fuss.
Keep your sauce balanced, give the thighs room to breathe, and don’t skip the rest. You’ll have a crowd-pleasing dinner that tastes like it came off the grill—no smoke required.
Printable Recipe Card
Want just the essential recipe details without scrolling through the article? Get our printable recipe card with just the ingredients and instructions.